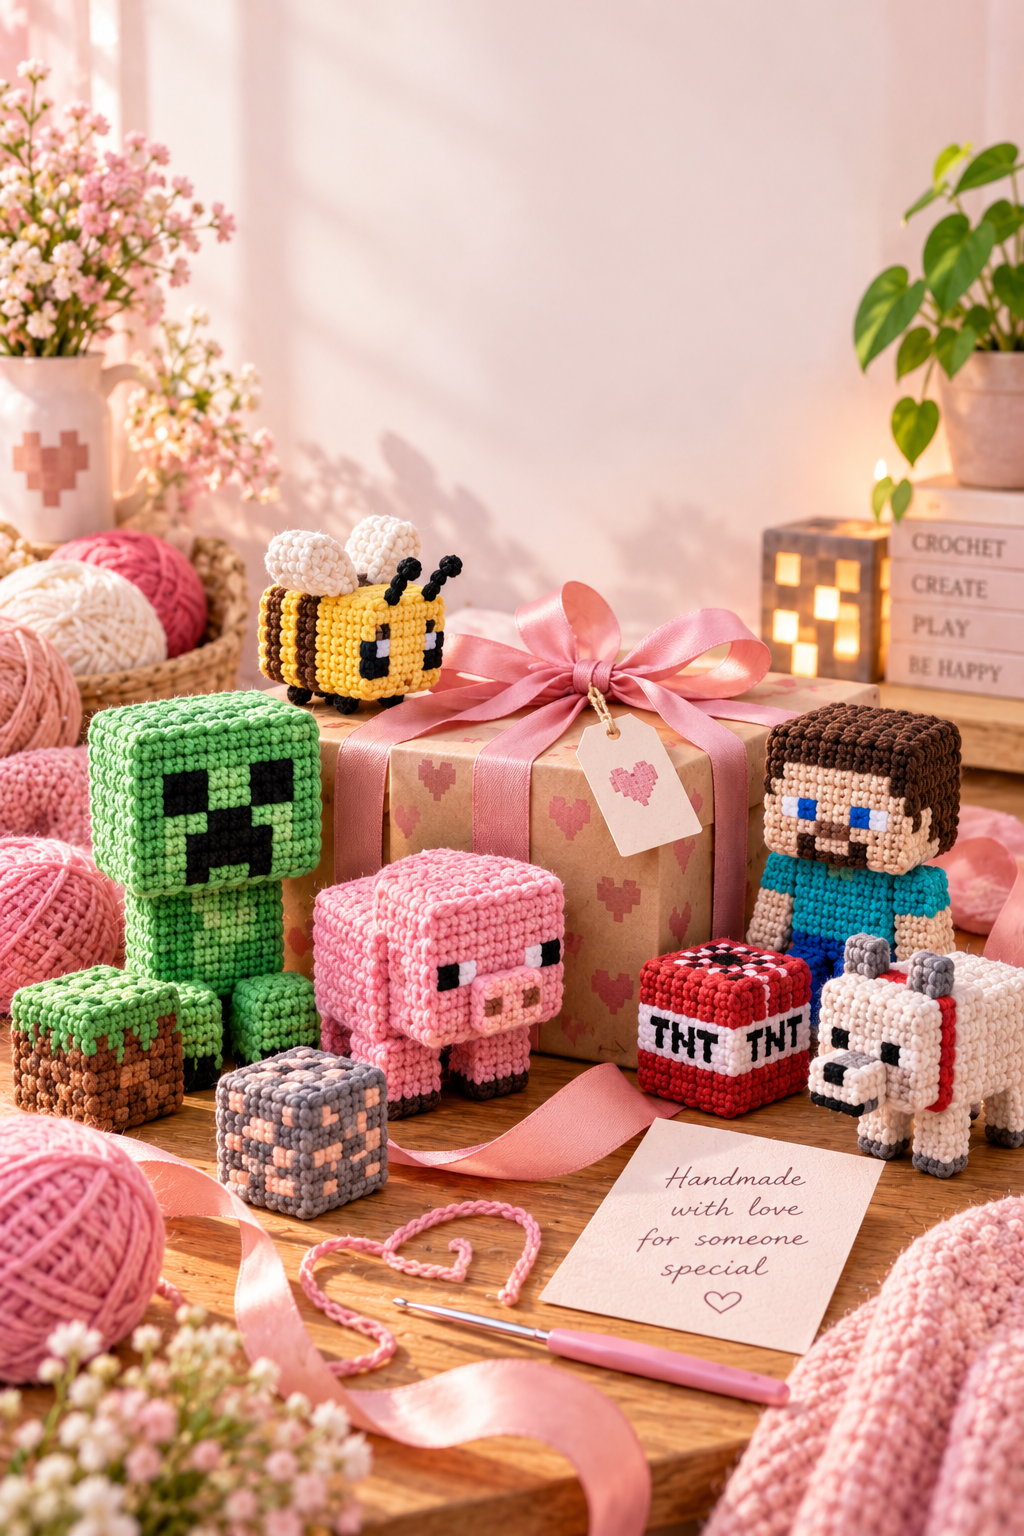
If you love Minecraft and crochet, combining the two can make some seriously fun projects. Minecraft crochet patterns are especially great for amigurumi because the game’s blocky shapes translate naturally into crochet.
You can make small creeper-inspired figures, animals, grass blocks, stone blocks, tools, keychains, decorations, or handmade gifts. Some projects can be kept simple with basic shapes, while others can include several separate pieces that are sewn together.
This guide covers some of the best project ideas, the materials you’ll need, how to choose yarn and hooks, and practical tips for getting clean pixel-style results.
Note: The designs discussed here are Minecraft-inspired fan crafts. Minecraft is a trademark of Mojang Studios/Microsoft; this article is not affiliated with or endorsed by them.
What Makes Minecraft Crochet Patterns So Fun?
Minecraft’s visual style works surprisingly well with crochet. Most of the game’s objects are based on squares, rectangles, simple colors, and recognizable pixel patterns.
That means you don’t necessarily need complicated crochet techniques to create something that looks convincing.
Some beginner-friendly shapes include:
- Square blocks
- Small cubes
- Simple animals
- Basic character heads
- Flat pixel panels
- Small accessories
- Keychain-sized projects
More advanced patterns can combine several crocheted sections to create a complete character.
The best part is that you can change the size, colors, and details to create your own version of the project.
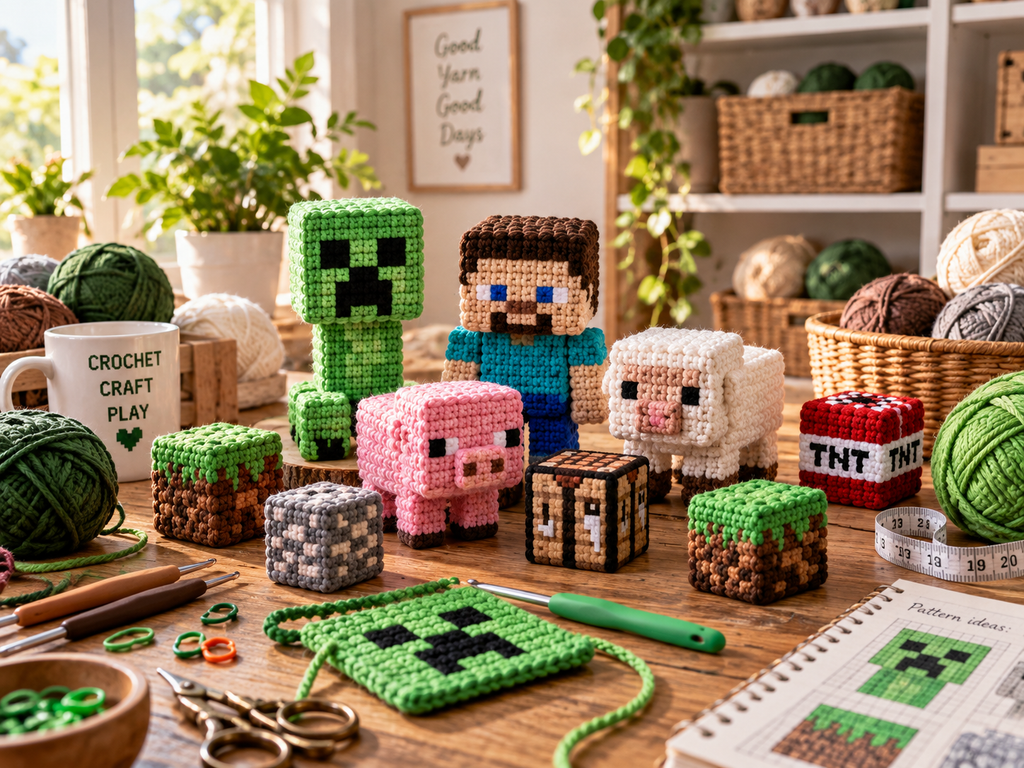
Minecraft Crochet Project Ideas
There are plenty of directions you can take when making Minecraft-inspired crochet projects. If you’re not sure where to start, begin with a simple block before moving on to a full character.
1. Creeper-Inspired Amigurumi
A green creeper-style character is one of the easiest designs to recognize.
The basic construction can be made from:
- A square or rectangular head
- A longer body
- Four small legs
- Black facial details
- Polyester fiberfill
The face can be crocheted directly into the piece or added afterward using surface crochet or carefully sewn yarn details.
For a cleaner result, count your stitches carefully when creating the face. Because the design is pixel-based, even a small change in placement can make the expression look different.
2. Grass and Dirt Blocks
Block-shaped projects are another great option.
A grass-and-dirt block can be created by crocheting several square panels and joining them together. You can use brown yarn for the sides and add green stitches along the top.
These projects are useful as:
- Shelf decorations
- Desk accessories
- Gaming-room decor
- Small handmade gifts
- Parts of a larger Minecraft-inspired display
3. Minecraft-Inspired Animals
Animals are also fun because their designs can be broken down into simple geometric sections.
You could make:
- Pig-inspired figures
- Sheep-inspired figures
- Chicken-inspired figures
- Cow-inspired figures
- Wolf-inspired figures
- Cat-inspired figures
Changing the yarn colors can also give the same basic pattern a completely different appearance.
4. Character-Inspired Figures
If you want a larger challenge, try making a blocky human character.
The head can be crocheted as a cube, while the body, arms, and legs are created separately and attached afterward.
This type of project takes more assembly, but it gives you much more room to experiment with clothing colors, hair, facial details, and accessories.
Choosing Yarn for Minecraft Crochet
For most amigurumi projects, worsted-weight yarn is a practical choice because it is easy to find in the US and comes in a wide range of colors.
For a typical project, you might need colors such as:
| Project Part | Suggested Color |
|---|---|
| Grass | Bright or medium green |
| Dirt | Medium brown |
| Stone | Gray |
| Character skin | Beige or tan |
| Hair | Dark brown |
| Clothing | Blue, green, or another chosen color |
| Details | Black or charcoal |
| Sheep | White or cream |
You don’t have to match a digital character color perfectly. In fact, slightly softer colors can make the finished piece look more like handmade home decor.
For a more traditional gaming look, use stronger greens, browns, blacks, and grays.
For a softer Pinterest aesthetic, try sage green, cream, muted brown, dusty blue, and warm beige.
What Crochet Hook Should You Use?
The right hook depends on your yarn and how tightly you crochet.
For amigurumi, crocheters commonly use a hook that creates a fairly tight fabric. The goal is to prevent large gaps from appearing between stitches, especially after stuffing.
If you’re following a specific pattern, use the hook size recommended by that pattern first.
If you’re creating your own design, make a small test piece before starting the complete character.
Check for:
- Visible gaps
- Loose stitches
- Uneven edges
- Fabric that feels too stiff
- Fabric that stretches too much
A slightly smaller hook may help create tighter stitches, but your personal tension matters just as much as the hook size.
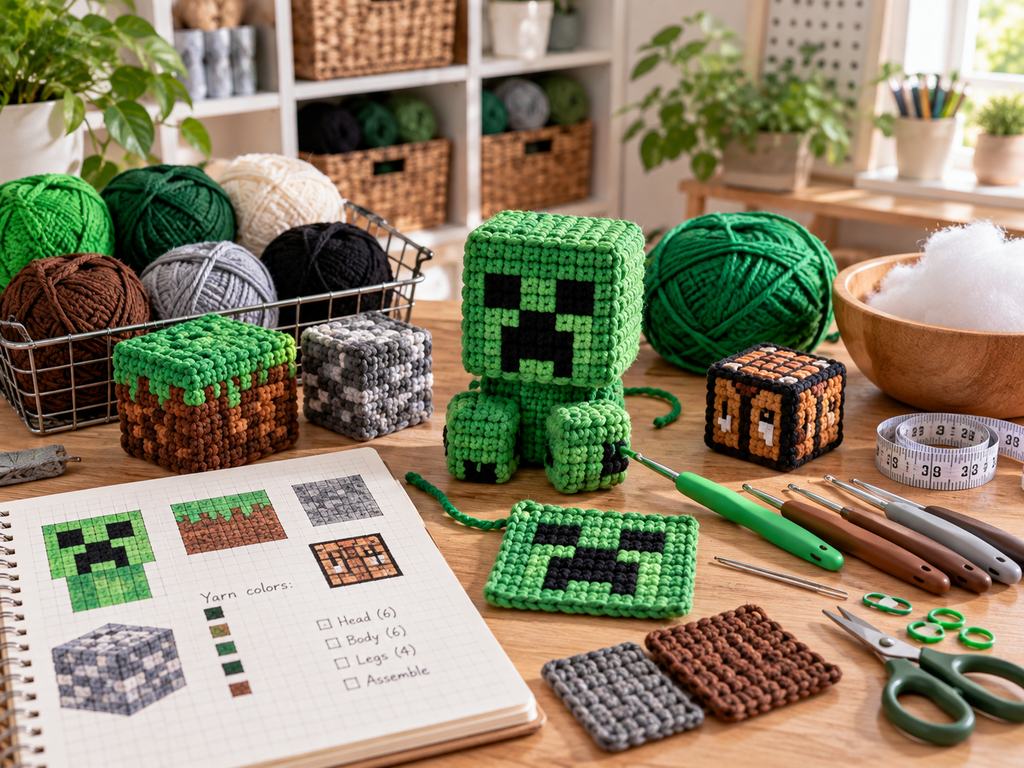
Basic Materials You’ll Need
You don’t need a huge collection of supplies to get started.
A basic Minecraft-inspired crochet project may require:
- Worsted-weight yarn
- Crochet hook
- Polyester fiberfill
- Yarn needle
- Small scissors
- Stitch markers
- Measuring tape
- Safety eyes, if your design uses them
- Stitch-count notes or a pattern
- A small amount of scrap yarn
For block-shaped projects, keeping your tension consistent is particularly important. Uneven tension can make one side of a cube larger than another.
How to Build a Blocky Crochet Character
One useful way to approach these projects is to think about the character as a collection of separate shapes.
Instead of trying to crochet the entire figure as one complicated piece, break it down.
Step 1: Make the Main Body
Start with the largest section of the character.
For a blocky design, this may be a rectangular or square-shaped body.
Keep track of every round so the dimensions stay consistent.
Step 2: Crochet the Head
The head is usually one of the most noticeable parts.
For a cube-shaped head, focus on keeping the corners and sides as even as possible.
If the pattern calls for color changes, check each round carefully so the pixel pattern stays aligned.
Step 3: Make the Smaller Pieces
Create the arms, legs, ears, tail, or other accessories separately.
Lay them beside the main body before sewing anything together. This makes it easier to check whether the proportions look right.
Step 4: Add the Details
Facial features and small pixel details can completely change the finished character.
You can add them with:
- Embroidery
- Surface crochet
- Color changes
- Appliqué pieces
- Small crocheted panels
Take your time with this stage because symmetry matters.
Step 5: Stuff and Assemble
Stuff each piece gradually rather than filling it all at once.
Add a little fiberfill, shape the piece with your fingers, and then add more if necessary.
Avoid overstuffing square pieces because too much filling can distort the shape.
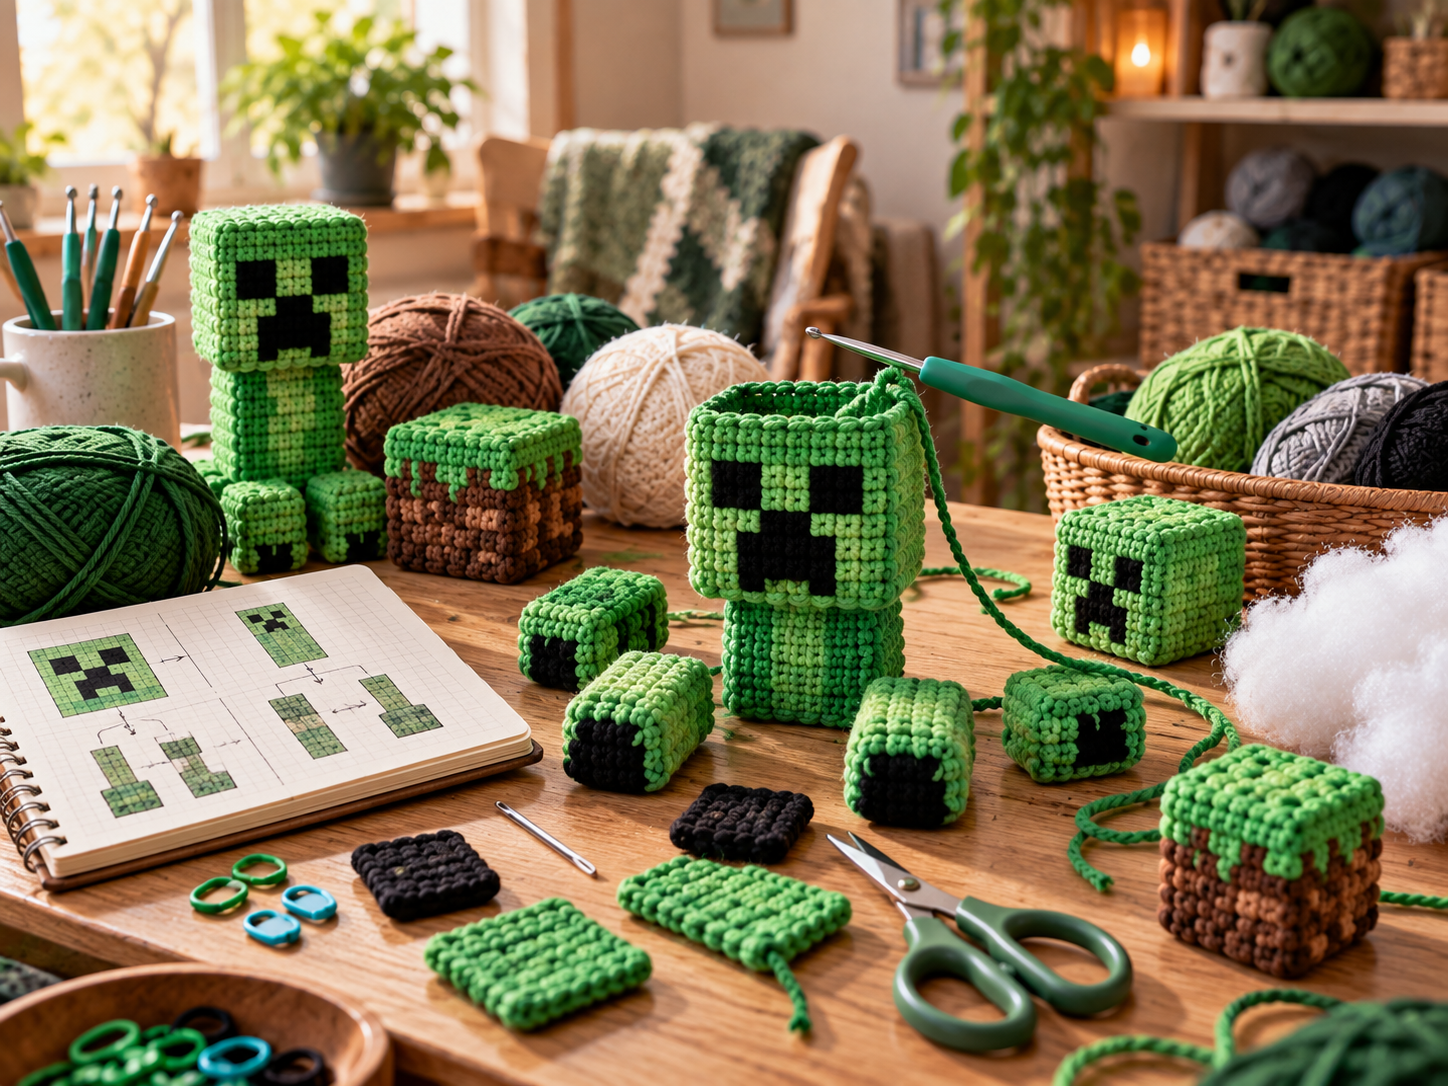
How to Get Cleaner Pixel-Style Shapes
The blocky appearance is what makes these projects recognizable, so shaping deserves extra attention.
Keep Your Stitch Tension Consistent
Try to maintain the same tension throughout the project.
If your tension changes significantly between rounds, the finished piece can become uneven.
Count Your Stitches
Don’t rely only on how the project looks.
Count your stitches at the end of each round, especially when creating square panels or color patterns.
Use Stitch Markers
A stitch marker can help you identify the beginning of each round.
This is particularly helpful when working in continuous rounds.
Check Your Pieces Before Sewing
Before attaching anything, arrange all the pieces together.
Look at the project from the front and side.
This gives you a chance to fix proportions before everything is permanently attached.
Easy Ways to Customize Your Crochet Projects
Once you’re comfortable with the basic structure, you can make the design your own.
Try changing:
Size:
Use thicker yarn and a larger hook for a bigger decorative piece, or smaller yarn for a keychain-sized project.
Colors:
Replace traditional colors with pastel, muted, or seasonal shades.
Accessories:
Add a small crocheted tool, sword-inspired accessory, backpack, flower, or other decorative piece.
Purpose:
Turn the project into a plush toy, ornament, keychain, shelf decoration, or handmade gift.
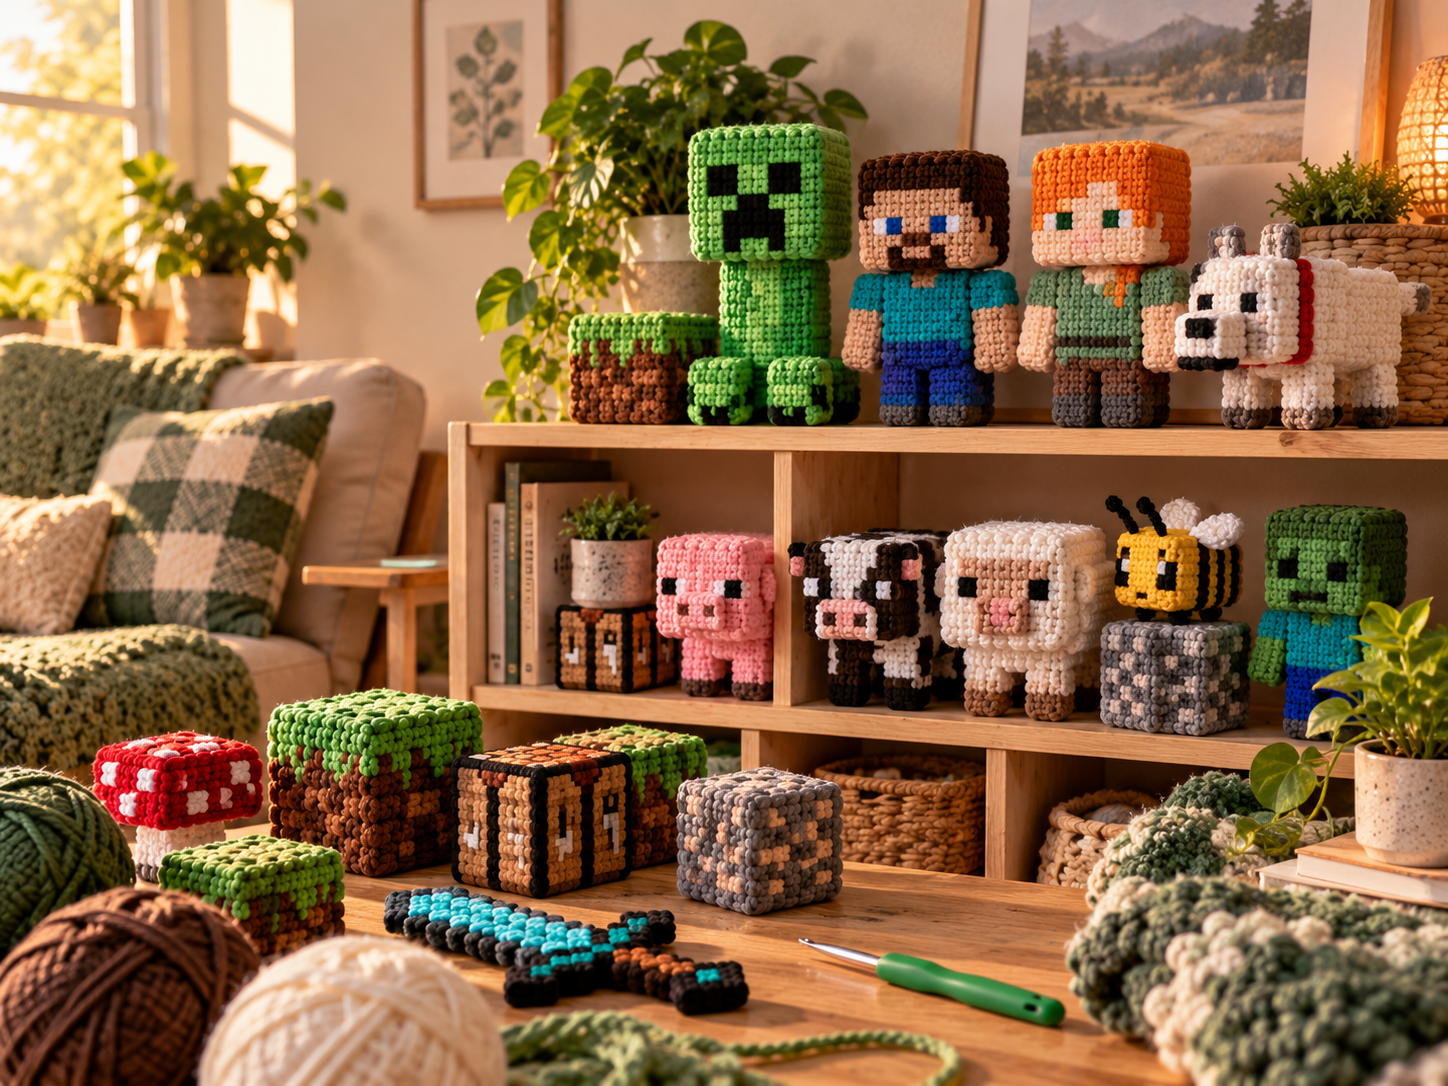
Room Decor:
Make several small blocks and characters and arrange them together on a shelf or gaming desk.
Minecraft Crochet Ideas for Gifts
Handmade crochet projects can make fun gifts for gamers, especially when you customize the colors or character.
Some simple gift ideas include:
- Small character plushies
- Block-shaped decorations
- Crochet keychains
- Gaming-themed ornaments
- Mini animal figures
- Desk decorations
- Character sets
- Small gift baskets containing several crochet pieces
For a child’s gift, avoid small detachable parts that could create a choking hazard. Choose construction and materials appropriate for the recipient’s age.
Tips for Selling Minecraft-Inspired Crochet Items
If you’re planning to sell finished crochet items, pay attention to intellectual-property and marketplace rules.
A pattern or finished item based closely on a copyrighted or trademarked character may have restrictions depending on how it is used and where you sell it.
If you’re creating products for a shop, it’s worth checking the current policies of your marketplace and considering original designs that are inspired by block-building games rather than directly copying protected characters, artwork, or branding.
For your own crochet practice, however, experimenting with pixel-style shapes can be a great way to learn amigurumi construction.
Common Mistakes to Avoid
A few small mistakes can make a blocky crochet project look uneven.
Using a Hook That Is Too Large
Large gaps can appear between stitches, particularly after stuffing.
Overstuffing
Too much stuffing can push the stitches apart and distort square shapes.
Losing Track of Stitch Counts
One missed stitch can change the size of an entire panel.
Sewing Pieces Without Checking Placement
Always position the pieces first. Once they’re sewn together, correcting the placement can be much harder.
Making Pixel Details Uneven
Count the stitches used for facial features and other details. Symmetry makes a big difference.
Frequently Asked Questions
Are Minecraft crochet patterns good for beginners?
Yes, some are. Simple blocks and small animals can be easier starting points because they use basic shapes. Larger characters with several pieces require more patience and assembly.
What yarn is best for Minecraft-inspired amigurumi?
Worsted-weight yarn is a practical choice for many projects. It is widely available in the US and comes in many colors. Always follow the yarn and hook recommendations of your specific pattern when available.
What crochet hook size should I use for amigurumi?
There isn’t one universal size. Use the hook recommended by your pattern, or choose a size that creates firm stitches without large gaps when designing your own project.
How do I make crochet squares look more like Minecraft blocks?
Keep your stitch tension consistent, count your stitches carefully, and shape each panel evenly. Blocking or careful stuffing can also help improve the final shape.
Can I make Minecraft-inspired crochet gifts?
Absolutely. Small characters, animals, blocks, ornaments, and keychains can all work as handmade gifts. Just make sure the finished product is appropriate for the recipient’s age.
How can I make my crochet project look more professional?
Focus on consistent tension, accurate stitch counts, neat color changes, clean sewing, even stuffing, and carefully placed details. Taking your time during assembly usually makes a noticeable difference.
Final Thoughts
Minecraft crochet patterns are a fun way to combine gaming with a traditional handmade craft. The blocky designs make it possible to start with simple shapes and gradually work toward more detailed characters.
If you’re new to crochet, start with a small block or simple animal. Once you’re comfortable with the basic construction, try combining multiple pieces into a complete character.
Choose colors you enjoy, keep your stitches consistent, and don’t rush the assembly. With a little practice, you can build an entire collection of handmade pixel-style crochet creations for gifts, shelves, desks, or your own craft room.