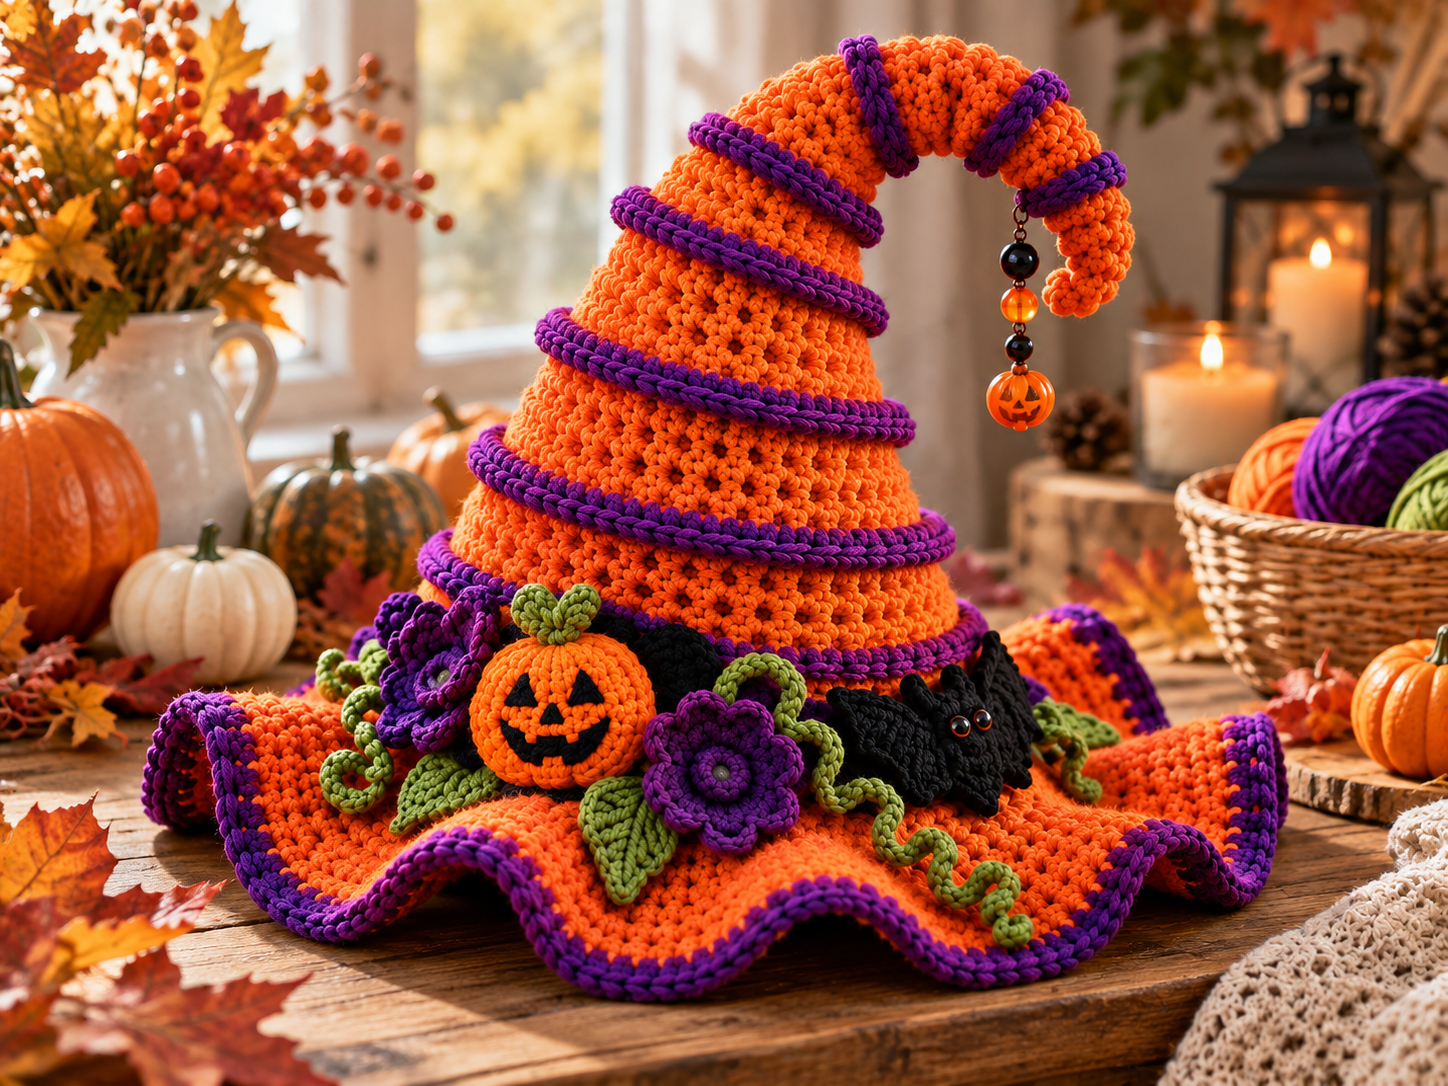
If you want a crochet project that feels different from the usual pumpkins and ghosts, a spooky spiral witch hat crochet design is a fun one to try. The tall curled tip, colorful spiral bands, and wide wavy brim give the hat plenty of character, while small crochet decorations can make it even more festive.
It can work as Halloween home decor, a seasonal table decoration, or a fun handmade gift. And because you can change the colors and embellishments, you can easily make the design your own.
What Makes a Spooky Spiral Witch Hat Special?
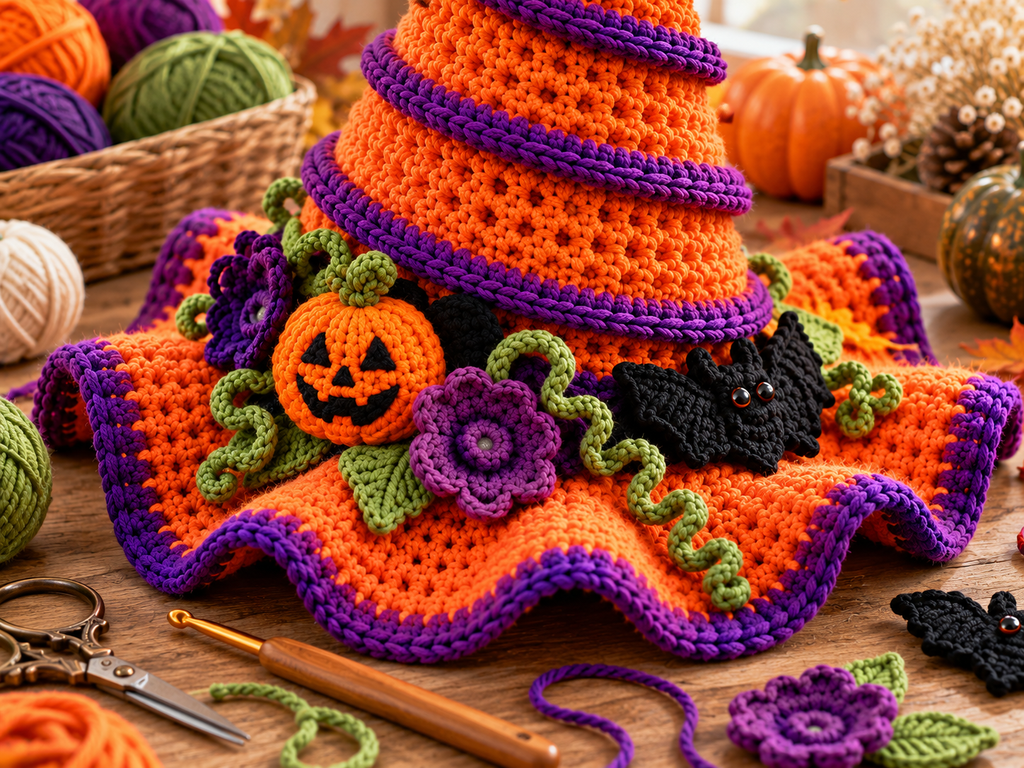
A traditional crochet witch hat is already a fun Halloween project, but adding a spiral shape makes it much more eye-catching.
The main features usually include:
- A tall cone with a curved or curled tip
- Spiral bands running around the cone
- A wide, wavy brim
- Contrasting edging
- Halloween-themed crochet decorations
- A mix of bright and dark seasonal colors
The hat doesn’t have to be perfectly symmetrical. In fact, a slightly uneven handmade look works particularly well for a spooky Halloween decoration.
Choosing Yarn Colors
Color is one of the easiest ways to change the personality of your witch hat.
For a classic Halloween look, orange and purple make a great combination. You can then use black for bats and small details and green for leaves and vines.
Here are a few combinations worth trying:
| Style | Main Color | Accent Colors |
|---|---|---|
| Classic Halloween | Orange | Purple + Black |
| Dark Gothic | Black | Plum + Silver |
| Pumpkin Patch | Burnt Orange | Olive + Cream |
| Cute Halloween | Bright Orange | Lavender + Pink |
| Rustic Fall | Terracotta | Sage + Beige |
If you are using yarn you already have at home, don’t be afraid to mix colors. A handmade witch hat can look great with unexpected combinations.
Understanding the Spiral Cone
The cone is the part that gives this project its signature look.
Rather than ending in a straight point, the top gradually bends to one side. The spiral can be emphasized with a contrasting color worked around the cone.
The basic idea is to create a cone that becomes narrower toward the top while maintaining enough flexibility for the tip to curve.
Keep the Shape Flexible
If you want a dramatic curl, avoid making the tip too stiff.
You can gently shape the finished piece with your hands once it has been stuffed or supported. If the design uses stuffing, add it gradually so the cone doesn’t become overly rigid.
The exact construction will depend on the pattern you’re following, so always use the stitch counts and shaping instructions provided with that pattern.
Creating the Wavy Brim
The brim is another important feature.
Instead of making a completely flat circle, a wavy edge creates a playful witch-hat effect. The outer edge can be finished with a contrasting crochet border to make the shape stand out.
A purple border against an orange brim is particularly striking.
When working the brim, pay attention to your stitch tension. Too many increases can create unwanted ruffles, while too few can make the brim curl upward.
Halloween Embellishments That Work Well
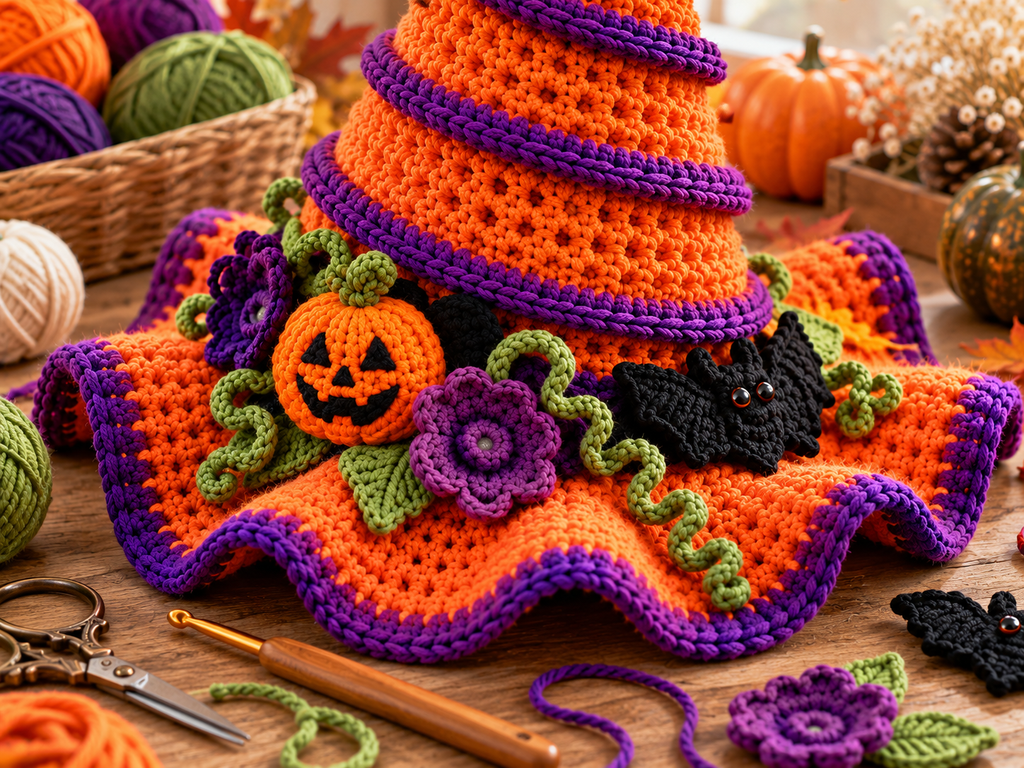
The basic hat is already decorative, but small crochet additions can turn it into a complete Halloween centerpiece.
Crochet Pumpkin
A small orange pumpkin with a green stem looks great attached to the brim.
You can give it a simple embroidered face or leave it plain for a more elegant fall look.
Crochet Flowers
Purple flowers add color and soften the spooky theme. You can make several flowers in slightly different sizes and arrange them together.
Curled Vines
Green crochet vines are a simple way to fill empty spaces around the brim.
The curly shape also works nicely with the spiral shape of the hat.
Crochet Bat
A small black bat gives the design an unmistakable Halloween feel.
Keep it relatively small so it complements the hat rather than taking attention away from the main design.
Leaves
Green or autumn-colored crochet leaves can be tucked between flowers and pumpkins for extra detail.
How to Plan Your Crochet Hat Before Starting
Before picking up your hook, it helps to decide what you want the finished hat to look like.
Make a quick plan for:
- Main yarn color
- Spiral band color
- Brim edging
- Decoration colors
- Overall size
- Where each embellishment will go
This can save you from making a beautiful decoration and then realizing that the colors don’t work together.
A simple three- or four-color palette is usually enough.
A Cozy Crochet Workspace Makes the Project Easier
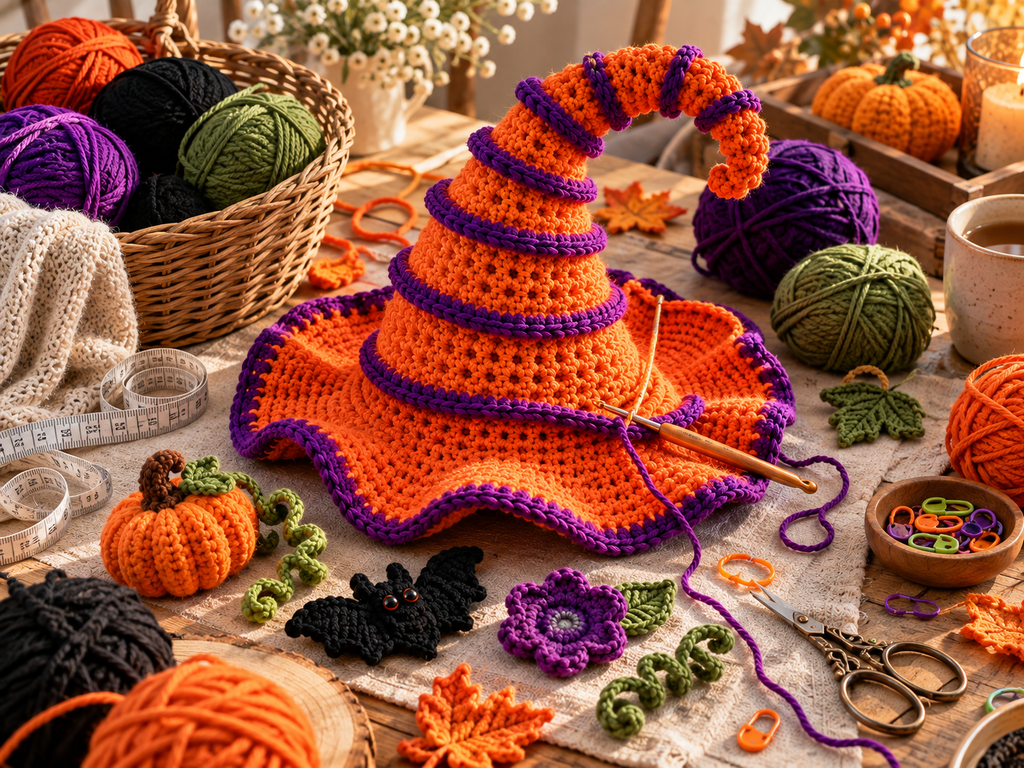
A large crochet project is much easier to manage when your supplies are organized.
Keep your main yarn and accent colors together with:
- Crochet hooks
- Small scissors
- Stitch markers
- Measuring tape
- Tapestry needle
- Stuffing, if required
- Safety pins or clips
- Yarn needle
Keep small decorative pieces in a bowl or container so they don’t disappear under your yarn.
Tips for Getting Clean Crochet Stitches
A Halloween project may be playful, but neat stitches will still make the finished piece look much better.
Watch Your Tension
Try to keep your tension consistent as you work around the cone. Uneven tension can cause noticeable changes in the shape.
Count Your Stitches
If your pattern gives a stitch count at the end of each round, use it.
If your count is suddenly wrong, fix the mistake before continuing.
Mark Your Rounds
A stitch marker can make continuous-round crochet much easier to follow.
This is especially useful when you’re working on a tall cone.
Don’t Overstuff
If stuffing is part of the construction, add it gradually.
Too much stuffing can stretch the stitches and make the hat look lumpy.
Take Your Time With Sewing
Small details such as pumpkins, flowers, leaves, and bats should be attached securely.
Before sewing them permanently, arrange them on the hat and take a step back to see how the whole design looks.
Make the Hat Your Own
One of the best things about a crochet witch hat is how easy it is to personalize.
You could change:
The colors:
Try teal and purple instead of orange and purple.
The decorations:
Replace pumpkins with moons, stars, ghosts, or spiders.
The brim:
Make it subtle and simple or extra wavy and dramatic.
The size:
Create a small tabletop version or a larger decorative centerpiece.
The style:
Use muted colors and simple embellishments for a farmhouse Halloween look, or choose bold colors for a playful party decoration.
Ideas for Displaying Your Finished Witch Hat
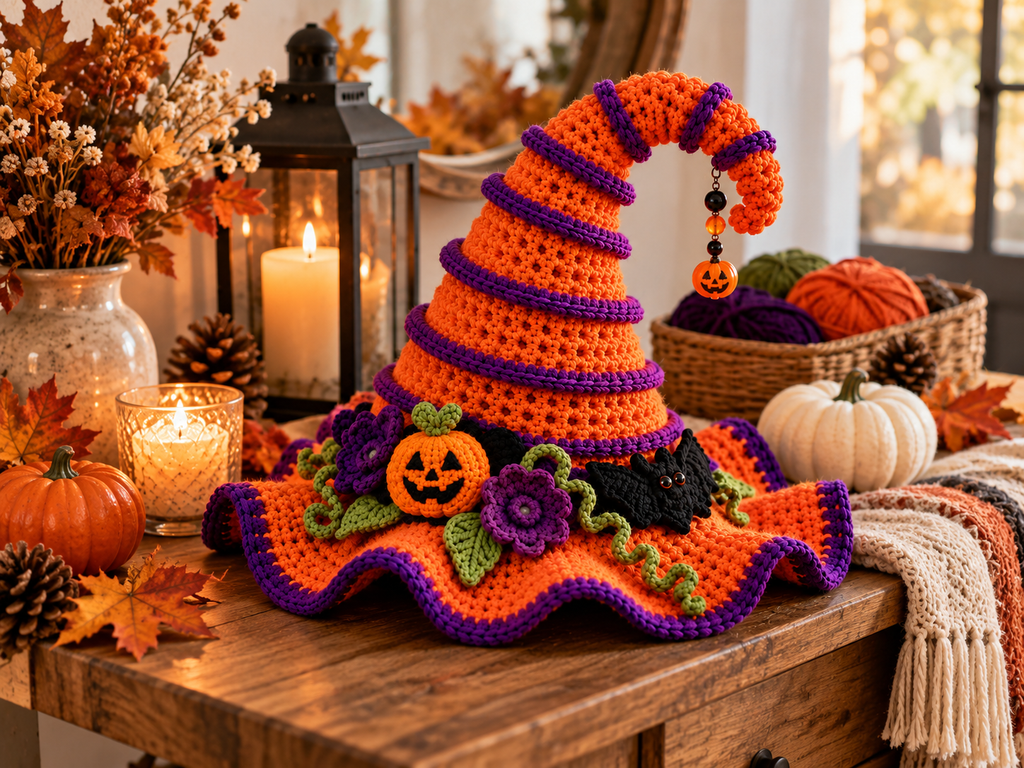
Once your crochet hat is finished, don’t hide it in a storage box until next Halloween.
It can become part of your seasonal decor in several ways.
Entryway Table
Place it near your front door with pumpkins and autumn foliage.
Fireplace Mantel
Pair it with candles, garlands, and small Halloween decorations.
Dining Table
Use the hat as the centerpiece of a Halloween table setting.
Craft Room
Keep it near your yarn and crochet supplies as a seasonal decoration.
Bookshelf
A smaller hat can sit between books, pumpkins, and other fall decorations.
Halloween Party Table
Use it as a centerpiece alongside candy bowls and small handmade decorations.
Common Problems When Crocheting a Witch Hat
Even experienced crocheters can run into a few problems when working with shaped projects.
The Cone Won’t Curl
The curl depends on the construction and shaping of the pattern. If the finished cone is too stiff, check your tension and stuffing.
The Brim Is Curling
This can happen when the shaping isn’t balanced. Check the pattern’s increase instructions and stitch count.
Decorations Look Crowded
Don’t attach every embellishment immediately. Lay them out first and experiment with spacing.
The Hat Looks Uneven
Small handmade variations are normal, but major differences usually mean something went wrong with stitch counts or tension.
The Hat Doesn’t Stand Properly
Check the construction and support method specified by your pattern. A tall decorative hat may need internal support or carefully controlled stuffing depending on its design.
Can Beginners Make a Crochet Witch Hat?
Yes, but the difficulty depends on the pattern.
If you’re new to crochet, look for a pattern that explains:
- Abbreviations
- Stitch counts
- Increasing and decreasing
- Round-by-round instructions
- Assembly
- Decoration placement
- Finished measurements
If you’ve already made basic amigurumi or shaped crochet projects, a spiral witch hat can be a fun project to challenge your skills.
Frequently Asked Questions
What colors work best for a crochet witch hat?
Orange and purple are classic Halloween colors, but black, green, cream, burgundy, and muted fall shades can also look great.
Can I make a crochet witch hat without decorations?
Absolutely. A simple orange or black hat with a contrasting spiral band can look stylish without additional embellishments.
What can I use a crochet witch hat for?
It can be used as Halloween home decor, a table centerpiece, seasonal shelf decor, party decoration, or a handmade gift.
How do I make the hat look more spooky?
Add black bats, dark purple flowers, curling vines, pumpkins, spiders, moons, or small embroidered details.
How can I make my crochet witch hat look professional?
Focus on consistent stitch tension, accurate stitch counts, clean finishing, secure attachments, and balanced placement of decorations.
Can I change the colors in a crochet pattern?
Usually, changing yarn colors is an easy way to personalize a project, but make sure the replacement yarn has a similar weight and texture unless you intentionally want to change the finished size.
Final Thoughts
A spooky spiral witch hat crochet project is a great way to bring something handmade into your Halloween decorating. The curled cone and wavy brim already give it plenty of personality, while pumpkins, flowers, vines, leaves, and bats let you add your own style.
Start with a color palette you love, keep your stitch counts accurate, and take your time with the small details. Whether you make a simple version or go all out with decorations, the finished hat can become a fun seasonal piece you’ll look forward to displaying every year.