If you love decorating for fall but want something a little more personal than store-bought decorations, cute crochet pumpkin patterns are a great place to start. They are cozy, reusable, and surprisingly easy to customize with different yarn colors, sizes, stitches, and little details.
Crochet pumpkins can be used all around the house. Put a few on a mantel, arrange them in a basket, add them to a fall centerpiece, or make tiny pumpkins for gifts and seasonal table decor.
The best part is that you don’t need complicated designs to make them look beautiful. A simple rounded pumpkin with a textured stitch, a little stem, and a crocheted leaf can be enough.
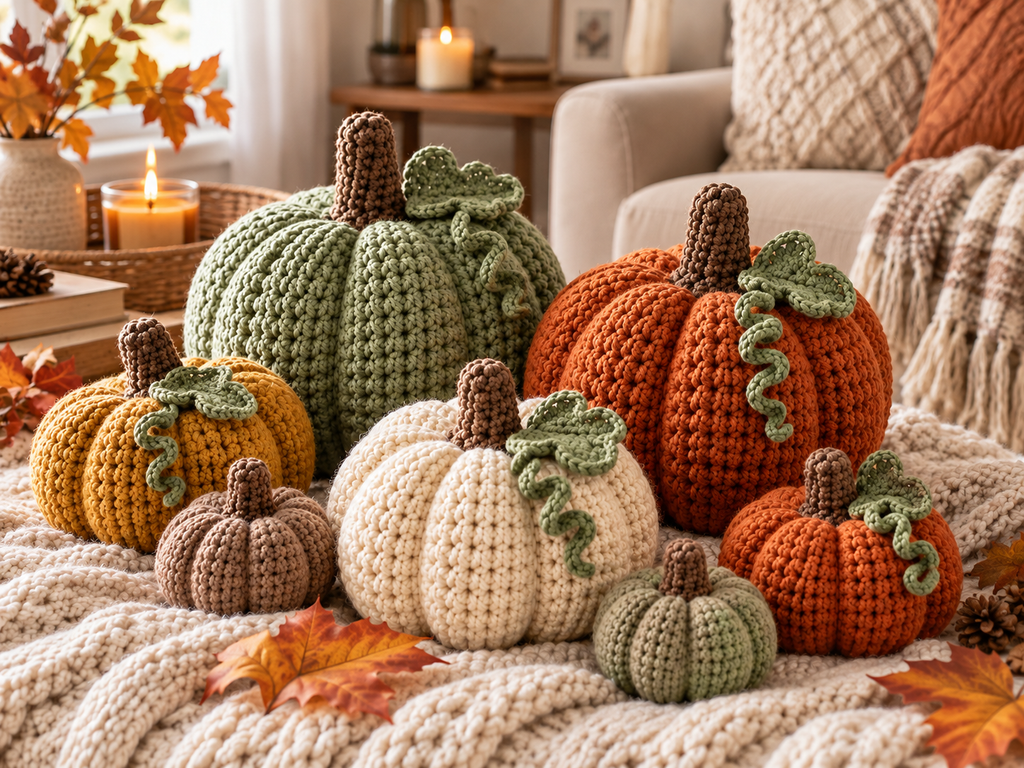
Why Crochet Pumpkins Are So Fun to Make
Pumpkins are one of those crochet projects that work well for both beginners and experienced crocheters.
The basic shape is fairly simple, but you can change the finished look in many ways.
You can make them:
- Small enough to fit in your hand
- Large enough for a shelf or chair
- Round and plump
- Tall and slightly narrow
- Chunky and heavily textured
- Simple and minimal
- Colorful and playful
- Rustic and farmhouse-inspired
They also make a great scrap-yarn project. If you have small amounts of orange, green, cream, brown, mustard, or beige yarn left from another project, you may already have enough to make a small pumpkin.
1. Classic Chunky Crochet Pumpkin
A classic chunky pumpkin is probably the first design I’d recommend trying.
Use a thick yarn and a suitable crochet hook to create a soft, squishy pumpkin. Once the basic shape is stuffed, use yarn to create the vertical sections that give the pumpkin its familiar ridged appearance.
Try colors such as:
- Terracotta
- Burnt orange
- Sage green
- Cream
- Warm beige
- Mustard
- Dusty brown
Add a small brown crochet stem on top, and you have a simple fall decoration that works almost anywhere.
2. Sage Green Crochet Pumpkin
Orange isn’t the only color that works for pumpkins.
Sage green gives crochet pumpkins a softer, more modern look. It works particularly well with neutral home decor because it doesn’t overpower the room.
Pair a sage pumpkin with:
- Cream blankets
- Natural wood
- Woven baskets
- Beige cushions
- Dried flowers
- Neutral ceramics
For an extra decorative touch, add a green crocheted leaf and a curled vine around the stem.
3. Mini Crochet Pumpkins
Mini pumpkins are perfect when you want to make several decorations in one sitting.
Because they use less yarn and require less stuffing, they can also be a quick project for beginners.
Use several colors and arrange the finished pumpkins together in a bowl or small basket. A combination of cream, orange, sage, and brown can create a beautiful autumn display without needing many other decorations.
Mini pumpkins are also useful for:
- Table centerpieces
- Tiered trays
- Mantel displays
- Shelf decorations
- Place settings
- Gift baskets
- Fall party decor
4. Ribbed Crochet Pumpkin
If you want a pumpkin with strong definition, try a ribbed design.
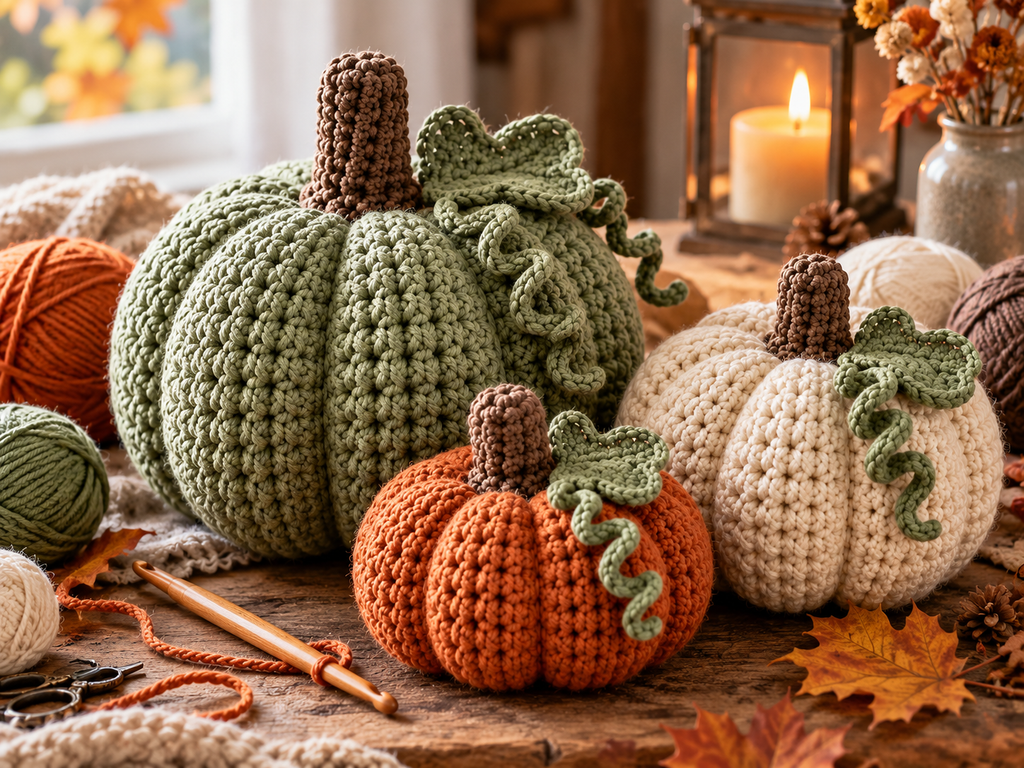
Ribbing creates raised vertical lines around the body, making the pumpkin look more structured. The effect becomes especially noticeable when you use chunky yarn.
A ribbed pumpkin can be made in almost any fall color, but sage, rust, cream, and mustard are especially attractive.
5. Crochet Pumpkin With a Leaf and Vine
A small crocheted leaf can completely change the appearance of a basic pumpkin.
Make a simple leaf from green yarn and attach it near the stem. Then add a narrow crocheted chain or twisted piece of yarn to create a curly vine.
This little detail works particularly well on:
- Large pumpkins
- Gift pumpkins
- Mantel decorations
- Centerpieces
- Etsy-style handmade decor
The vine doesn’t have to be perfectly shaped. In fact, a slightly irregular curl often makes the pumpkin look more handmade.
6. Farmhouse-Style Crochet Pumpkin
For a farmhouse-inspired look, keep your colors soft and natural.
Think:
Cream + oatmeal + sage + tan + muted brown
Instead of adding lots of decorations, focus on texture. A chunky stitch and natural-looking crochet stem can give the pumpkin enough character on its own.
Place several of these pumpkins in a woven basket beside a stack of books or a neutral knitted throw.
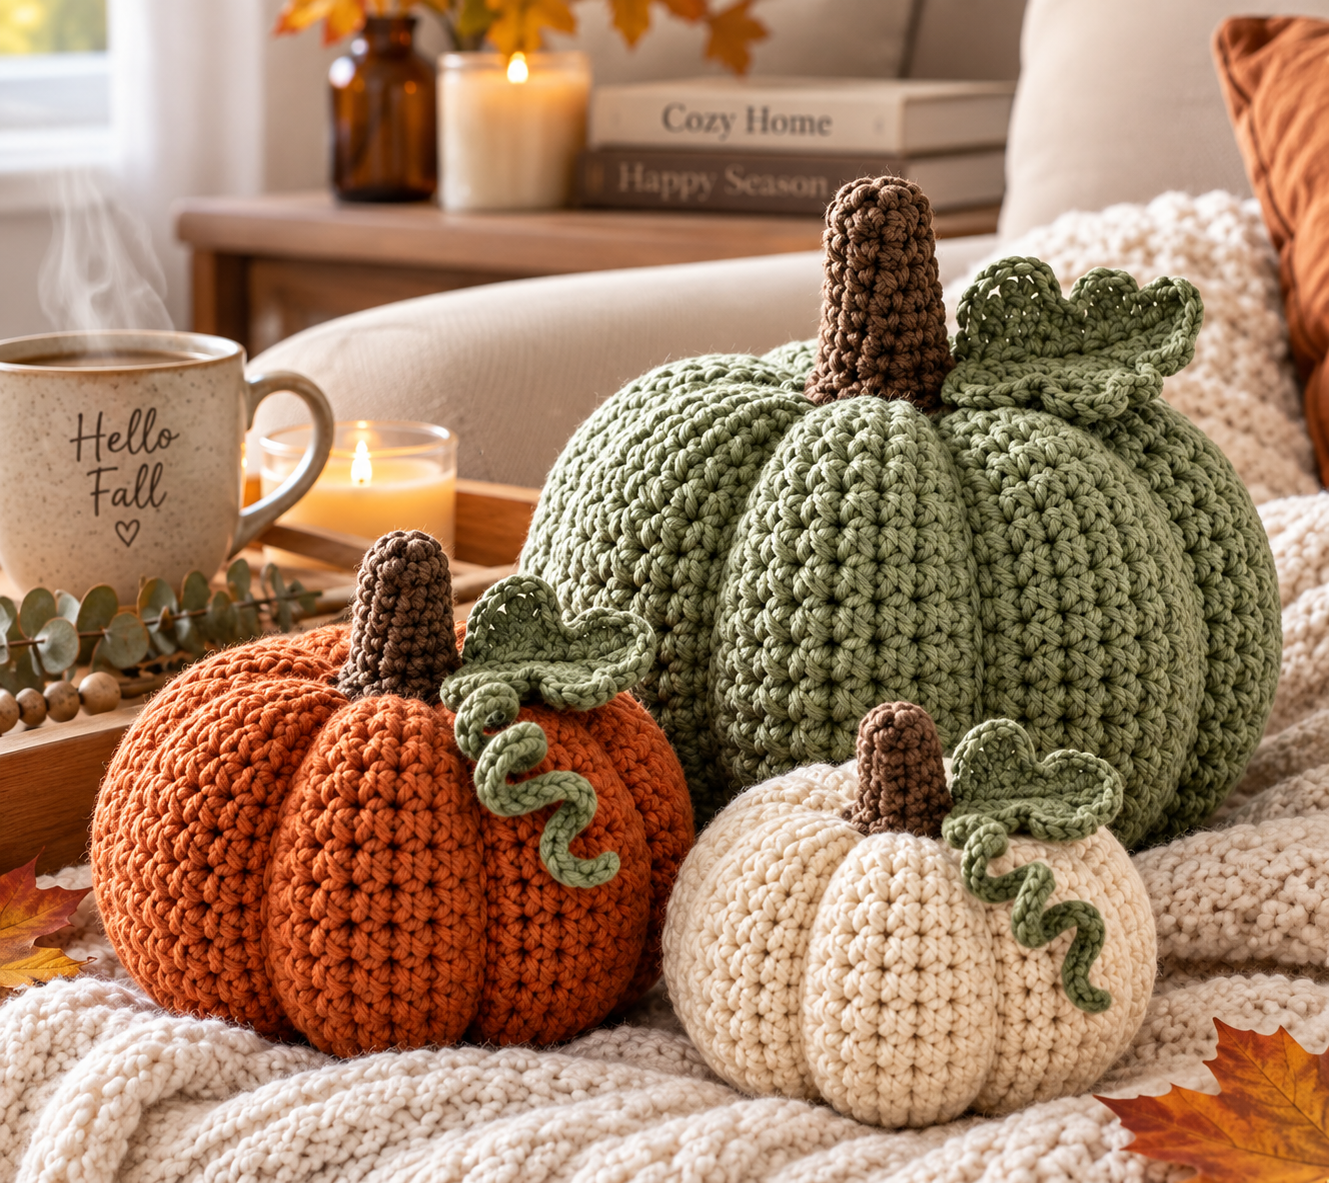
7. Crochet Pumpkin Trio
Why make one pumpkin when you can make three?
A small, medium, and large pumpkin look much more interesting when displayed together.
You can keep all three the same color or create a coordinated palette.
For example:
| Pumpkin | Color | Size |
|---|---|---|
| Small | Cream | Small |
| Medium | Burnt orange | Medium |
| Large | Sage green | Large |
The different heights naturally create depth, making the arrangement look more polished.
8. Two-Tone Crochet Pumpkin
A two-tone pumpkin is another easy way to make a simple pattern feel different.
You could use one color for the main body and another for the stem and decorative details.
Some combinations to try are:
- Sage + cream
- Orange + brown
- Mustard + cream
- Rust + sage
- Beige + dusty brown
You can also experiment with changing colors between sections of the pumpkin.
9. Soft Cream Crochet Pumpkin
Cream pumpkins are perfect for people who prefer neutral decor.
They fit naturally into rooms decorated with white, beige, oatmeal, tan, and light wood.
A cream crochet pumpkin with a brown stem and sage leaf gives you a subtle fall decoration without relying on bright orange.
It also works well beyond autumn, especially in cozy reading corners, bedrooms, and nursery spaces.
How to Use Crochet Pumpkins Around Your Home
One of the best things about these projects is that they aren’t limited to one decorating style.
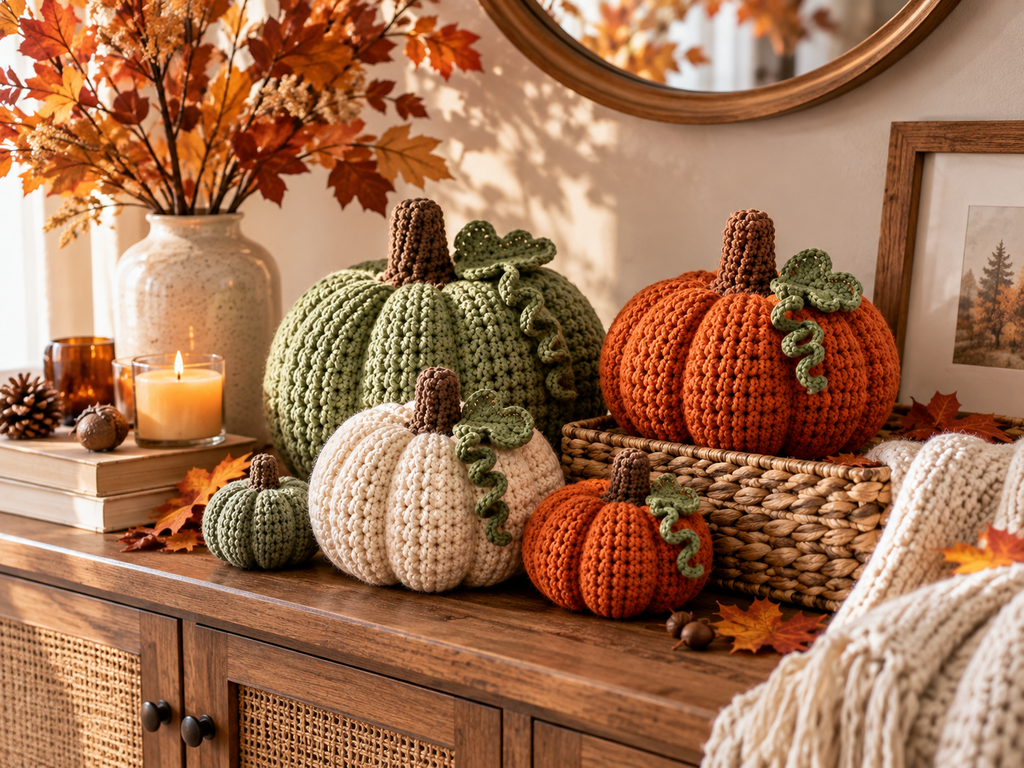
On a Console Table
Place a large pumpkin toward the back and smaller pumpkins in front. Add a vase of dried branches and a candle to complete the arrangement.
In a Woven Basket
Fill a shallow basket with pumpkins in different colors and sizes. This is an easy way to create a seasonal display without taking up much space.
On a Mantel
Use three to five pumpkins along the mantel, leaving enough space between them so each one can be seen.
On a Coffee Table
Place a few mini pumpkins on a wooden tray with a candle, small vase, and neutral decorative objects.
On a Dining Table
Create a simple centerpiece using pumpkins, dried leaves, greenery, and a neutral table runner.
On a Shelf
Small pumpkins are especially useful for shelves. Mix them with books, small plants, baskets, and ceramics.
10. Rustic Crochet Pumpkin
Rustic pumpkins look great with natural materials.
Choose earthy yarn colors and combine your finished pumpkins with:
- Wooden trays
- Jute or rattan baskets
- Dried leaves
- Pinecones
- Linen
- Wooden beads
Avoid overcrowding the arrangement. A few well-placed pumpkins often look better than filling every available space.
11. Decorative Pumpkin With a Curled Vine
If you want something a little more playful, make the vine the main feature.
A simple crocheted chain can be wrapped around a pencil or another rounded object while it is shaped, helping create a curl. Attach it near the leaf or stem once finished.
This small detail can make a basic pumpkin look much more finished.
12. Tiny Pumpkins for a Fall Table
Tiny crochet pumpkins make lovely seasonal table decorations.
Place one beside each plate or arrange several along the middle of the table.
For a more natural look, combine pumpkins with:
- Dried leaves
- Small branches
- Linen napkins
- Wooden utensils
- Neutral candles
Keep the color palette limited to three or four shades so the table doesn’t look too busy.
13. Oversized Crochet Pumpkin
If you want a statement piece, go bigger.
An oversized pumpkin made with thick yarn can look beautiful on a chair, entryway bench, floor basket, or large shelf.
The important thing is to keep the pumpkin firmly stuffed so it maintains its shape.
For very large pumpkins, choose a yarn that has enough structure to prevent the finished piece from becoming too floppy.
What Yarn Is Best for Crochet Pumpkins?
There isn’t one perfect yarn for every pumpkin pattern.
Your choice depends on the look you’re trying to create.
Cotton yarn:
Good for defined stitches and a neat finished shape.
Acrylic yarn:
Affordable and available in many colors, making it useful for experimenting.
Chunky yarn:
Great when you want large, soft pumpkins with a bold texture.
Velvet or chenille yarn:
Creates an extremely soft pumpkin, although the stitches can sometimes be harder to see.
For a classic handmade fall look, medium-weight or chunky yarn is usually an easy place to start.
How to Make Crochet Pumpkins Look More Realistic
The shaping is what makes a crochet pumpkin look like a pumpkin rather than just a stuffed ball.
After stuffing the body, use a length of matching yarn to create sections around it. Pull the yarn through the center and around the body at regular intervals.
Don’t pull every section with exactly the same tension. Slight variations can give the pumpkin a more natural handmade appearance.
A few other details help too:
- Use a slightly darker brown for the stem.
- Add a simple green leaf.
- Make the vine slightly curly.
- Don’t overstuff the pumpkin.
- Keep the bottom relatively flat so it sits properly.
Crochet Pumpkins Make Great Handmade Gifts
If you’re looking for a small handmade gift for fall, crochet pumpkins are a practical option.
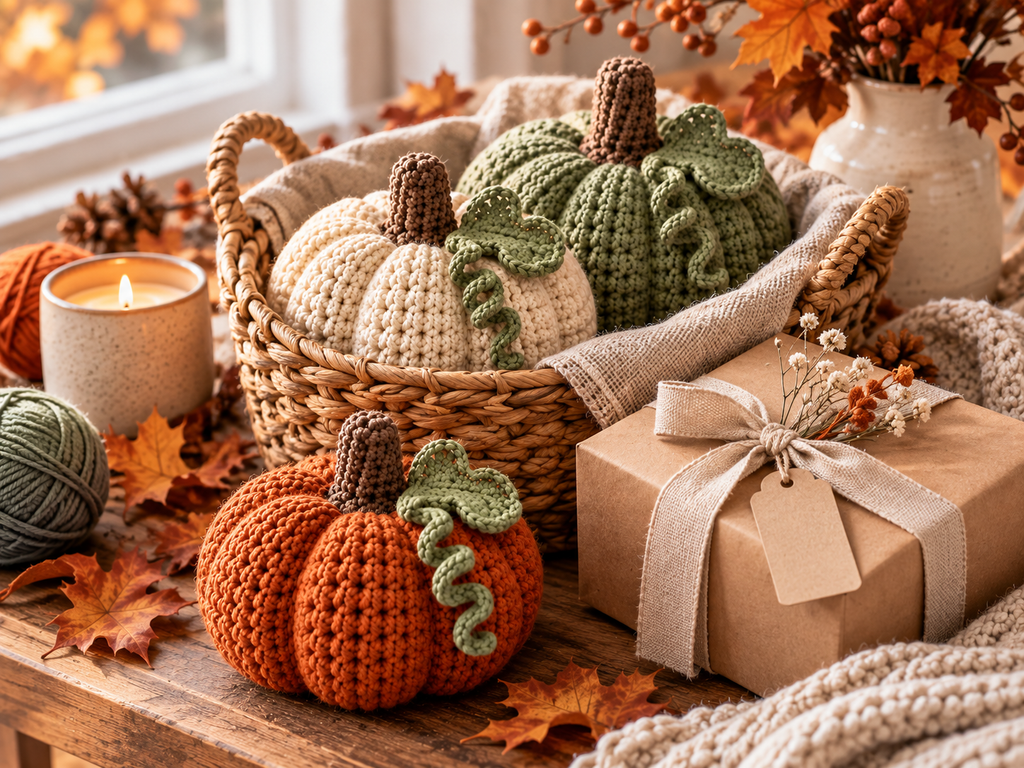
Make a set of three mini pumpkins and place them inside a woven basket with a small candle, yarn-colored ribbon, or other cozy seasonal items.
You can also give one larger pumpkin as a simple housewarming or autumn gift.
A handmade gift doesn’t need to be complicated. A thoughtfully chosen color combination and neat finishing can make a simple crochet project feel special.
Tips for Making Better Crochet Pumpkins
Keep Your Stitches Consistent
Try to maintain even tension throughout the project. Uneven tension can make the pumpkin look lumpy in places where you don’t want it to.
Don’t Overstuff
A pumpkin should be plump, but it doesn’t need to be rock hard.
Add stuffing gradually and shape the pumpkin with your hands as you go.
Experiment With Size
Before starting a large project, make a small pumpkin first. Once you understand how the shaping works, you can adjust the number of rounds and the yarn weight.
Choose Coordinating Colors
You don’t need every shade of autumn.
Pick three or four colors that work together and repeat them throughout your pumpkin collection.
Pay Attention to Finishing
The stem, leaf, and vine may be small details, but they can make a big difference in the finished appearance.
Easy Color Combinations to Try
If you’re unsure which colors to use, start with one of these combinations:
Classic Fall:
Burnt orange + cream + brown
Modern Autumn:
Sage + oatmeal + terracotta
Neutral Fall:
Cream + beige + taupe + brown
Warm Rustic:
Mustard + rust + tan + dark brown
Soft Autumn:
Dusty sage + ivory + muted peach + beige
Frequently Asked Questions
Are crochet pumpkins good for beginners?
Yes. Many crochet pumpkin designs use simple stitches and basic shaping. Mini pumpkins are particularly good projects if you’re still learning.
What size crochet hook should I use?
It depends on your yarn. Check the yarn label for its recommended hook size, then adjust if you want a tighter or looser fabric.
How do I stuff a crochet pumpkin?
Use polyester fiberfill or another suitable stuffing material. Add it gradually and shape the pumpkin as you work instead of filling everything at once.
Can I make crochet pumpkins without orange yarn?
Absolutely. Sage, cream, beige, mustard, brown, dusty pink, and muted green can all create beautiful seasonal pumpkins.
How do I give a crochet pumpkin its ridges?
After the pumpkin is stuffed, use yarn to pull sections inward around the body. Evenly spaced sections create the characteristic pumpkin shape.
Can crochet pumpkins be used every year?
Yes. Store them somewhere dry and clean between seasons. A small storage box or fabric bag can help keep them dust-free.
What can I use crochet pumpkins for besides home decor?
They can be used as handmade gifts, table decorations, seasonal centerpieces, basket fillers, shelf decor, party decorations, and small craft-fair or Etsy products.
Final Thoughts
Cute crochet pumpkins are one of those fall projects that can be as simple or creative as you want. Start with a basic pumpkin shape, then experiment with colors, sizes, stitches, leaves, stems, and curly vines.
If you’re decorating your home, a small collection usually has more impact than one pumpkin on its own. Mix a large sage pumpkin with smaller cream and orange ones, or keep everything neutral for a softer look.
And if you’re making them as gifts, mini pumpkins are an easy way to turn a simple crochet project into something personal and seasonal.
Whether you’re a beginner looking for your next weekend project or an experienced crocheter searching for new fall ideas, there are plenty of ways to make crochet pumpkins your own.